Wednesday, April 27, 2011

Pear and Almond Tart

 
This year we invited my family up for Easter Lunch.  
 
It was very exciting to host a proper family event and to have my brother and parents in the house at the same time. 


 However to be perfectly honest I was a little bit nervous.

I wanted everything to be perfect. 

I wanted my mum to be impressed with the cleanliness of the house,
my dad with my choice of organic, home-grown herbs
and my brother and his wife to think my roast was delicious.  


And it seems that when I start thinking like this, 
about how it has to be perfect, 
I begin to feel anxious and stressed about getting everything just right. 
 

I speak impatiently with the boy who seems so relaxed and oblivious to the oncoming doom
and I curse the oven, which suddenly seems to be as temperamental as I am.

However, this Easter something happened.  

I woke up the morning of the lunch surprisingly calm. 

I enjoyed decorating the table with my lovely cotton napkins and some pretty Easter biscuits that a friend had given to me. 


And as I seasoned the lamb and peeled the potatoes and kneaded the dough for my pear and almond tart I was filled with… not anxiety,

but joy. 

I had looked around and become aware of how lucky I was, 

for the fact that we had such plentiful and delicious food to share,
for the privilege of being able to afford to rent a lovely house 
and for the blessing of having a wonderful family.


 And suddenly it didn’t matter if it was perfect or not,


 ...because I knew I had everything to be thankful for.

Pear and Almond Tart
{Pastry}
150 grams of unsalted butter, softened
2 cups of plain flour
2 pinches of salt
2 teaspoon of icing sugar
1 egg yolk
A little cold water (no more than ¼ cup)

{Filling}
¼ cup of sugar
50 grams of unsalted butter
1 egg
1 teaspoon of vanilla essence
½ cup of almond meal
2 tablespoons of plain flour

Two small pears, skinned and sliced finely
1/3 cup slivered almonds

Preheat your oven to 180˚C

{to make pastry… }
Combine ingredients in the bowl of a stand mixer and mix until pastry has come together (adding a little water if needed)
Kneed gently until pastry is smooth
Wrap Pastry in plastic wrap and place in the refrigerator to rest for 30 minutes.

{to make filling… }
Beat the butter and sugar in your mixer until pale and smooth.
add the vanilla,
then the egg and beat until smooth.
Then stir in flour and almond meal.
Place filling in a small bowl, cover and refrigerate.

{to assemble… }
Roll out pastry into a circle of about 30cm diameter
Spread filling inside the circle, leaving a 5cm border

Arrange pear slices evenly over the filling,
then fold the border of the pastry up around the sides of the filling.

Sprinkle the tart with almonds and little sugar.

Refrigerate assembled tart for at least twenty minutes before baking.

Bake for about thirty – fourty minutes.

xx


Monday, April 4, 2011

Macadamia Brownies

 
Guess what I found...
 
well, ever since we moved to our new home I have been on the look out for places to buy fresh, local products. 

So you can imagine my delight when one warm Saturday afternoon, the boy and I stumbled upon a local Macadamia Nut Farm.

 It is in the Yarramalong Valley, where one day (I dream) we will buy a leafy block and build a little house. 

They have rows of Macadamia trees which surround a sunny cafe.
 
We spent the entire afternoon there,
 sipping cool drinks and dipping bread in oil and Macadamia Dukkah.

 And when we left I bought a little bag of whole Macadamias.

 The second thing I found, a few days later, was this very cute jug. It was in an op-shop for a dollar.

On the bottom it has a stamp that says 8 oz.

It is the perfect size to use when serving cream.

 And it just so happens, 
that fresh cream is the perfectly accompaniment for warm Macadamia Brownies.


Macadamia Brownies

150 grams of unsalted butter
 200g dark chocolate, very finely chopped
 1 cup of firmly packed brown sugar
 1 teaspoon of vanilla extract
 ½ cup of plain flour
 1 cup of whole toasted Macadamia nuts

Preheat your oven to 160˚C
 Grease and line a square, 18cm cake tin.
 Place butter in a saucepan and melt over a medium to high heat.
 When boiling take the butter off the heat and stir in the chocolate until it is melted.
 When the mixture is smooth whisk in the brown sugar,
 then the  vanilla extract,
 the flour,
 …and finally the Macadamias.
 Bake in your oven for about 20 – 30 min until the top looks crisp.

Serve warm with cream or ice-cream.

xx


Friday, March 18, 2011

Charity Cupcakes


In the last few weeks we have had no Internet connected at our home.

And during this time, I have found myself with time to do a whole range of things… 

things like ride my bike
or start up my sewing machine, 
get lost in the pages of the book I am currently reading
and sit out on the deck enjoying a cold drink with my husband.

…things which sometimes I miss out on doing because when I do have free time, I simply fill it… sitting on the couch with my laptop.
Not that I am in any way convinced that life would be better if we disconnected…

But it has made me contemplate whether all that time I spend online,
converting gorgeous clothes or kitchen accessories that I don't need or can’t afford,
or spending hours looking at photos of friends recent weddings or new babies or holidays in Venice…
 is really worthwhile?


In amongst this period of no network coverage I did do something extremely worthwhile.
With my lovely friend J., we organised a cake stall at a local church fete.
We raised money for a local community project. She made some lovely Swiss bread (you can find a recipe here) and I made one hundred cupcakes. 

And I would certainly do it again.

Charity Cupcakes

125 grams of butter

3/4 of a cup of caster sugar

2 eggs

1 1/2 cups of flour

1/2 a cup of milk

Preheat your oven to 180˚ 

Line a muffin tin with some pretty cupcake liners (you can spray the inside of the liners with non-stick spray to help them come off your cakes easily.)

Beat butter, sugar and vanilla together until light and creamy.

Add eggs one at a time.

Then add a small amount of the flour followed by a little milk. 

Continue this, alternating flour with milk on a low speed, scraping down your bowl when you need to.

Spoon mixture into patty cases.

Bake for 15 - 20 minutes or until golden. 

Then make some icing if you like... 
 
 
Icing

125 grams of unsalted butter

2 cups of icing sugar

1 teaspoon of vanilla extract

2 tablespoons of cream (or milk)

Beat butter and sugar together until smooth.

Then beat in vanilla and cream (add some dye if you would like.)

 
Recipe can be doubled, halved, or quadrupled.

xx


Tuesday, February 22, 2011

One-hour Pumpkin Risotto

 
So, I love to cook. But I have a secret. 


Sometimes when I get home from work, I am really very tired,

...and my feet hurt. 


They did today. 

I ran a dance class today for thirty twelve year-olds today. 

It made my brain hurt too. 

It is on these kind of days, when I get home from work, that don't want to cook.

But luckily I have a solution.


Solution = pumpkin risotto.

But not just any risotto.

An amazingly easy, no-stir risotto recipe
that is incredibly delicious and completely satisfying. 

It will even help sore feet... 

 I promise.


One-hour pumpkin risotto 

 400 grams of Butternut Pumpkin

2 cups of Arborio Rice

4 rashes of bacon

2 small brown onions, chopped

2 tablespoons of olive oil

50 grams of butter

1 1/2 cups of cooked peas

1/3 cup of grated parmesan cheese

1/3 cup of grated cheddar cheese
5 cups of chicken stock


Preheat your oven to 200˚C.

Peel and chop pumpkin into small pieces. 

Then place in a casserole dish with rice. 

Heat oil and butter in a pan, over a medium heat.
Add onions and cook until soft. 
Add bacon to the same pan and saute until slightly crisp.

Add all the onion and bacon to the casserole dish without draining off any of the oil.

Then add the stock and thyme sprigs. 

Cover and cook in your oven for one hour. 

Stir through cheese and cooked peas before serving.


Serves 4 - 6.
(But I make half when it's just for the two of us.)
Nb: My dad grows organic butternut pumpkins in his backyard that are little and very cute. 
This recipe is for him. 
xx


Tuesday, February 15, 2011

Toblerone Cookies

 
Dear Cousin, 

How I wished you lived closer.

For today is your birthday.

And today, if you lived in my street, I would knock on your door and give you a kiss.

And these flowers...

 and invite you to tea.

And I before you came over I would bake you these cookies, from our lovely block of Toblerone that went spotty in the heat wave. 


Then the boy would make you a delightful coffee. 


And you and I would sit and chat and laugh and just enjoy being together...
in the same street.


Dear Cousin, 

I miss you. xx


Toblerone Cookies

140g of butter

1/2 a cup of brown sugar


1/2 a cup of caster sugar

1 tsp vanilla

1 egg

2 cups of self-raising flour

1 cup of chopped Toblerone


Preheat oven to 180˚C

Beat sugar, butter and vanilla together until pale and smooth.

Add egg and beat until combined.

Stir in flour.

Then add chocolate.

Roll mixture into balls and bake on a lined tray for eight minutes (up to ten if you must, but please no more)

Leave to cool for a few minutes before serving.

Recipe can be doubled.


xx


Sunday, February 13, 2011

Traveling Scones

This weekend I went away for one of my dearest friend’s wedding.

We stayed in the beautiful country retreat Milton-Park and enjoyed time being together before her big day. 


 As I arrived on Thursday afternoon the sun was setting over the stunning grounds. 
It was one of those moments of complete awe at the beauty of creation. 


I felt so blessed to be there and to share this time with such a beautiful and incredible friend.


The wedding on Saturday was simply gorgeous and a whole lot of fun.
I promise to share some more photos soon.


 When we arrived home I made some scones with the jam I had picked up during the weekend.

I called them travelling scones because they are a perfect snack to pack in your bag and eat for breakfast on the train,


…although they are also good straight out of the oven, with a little bit of butter and a hot cup of tea. 


Traveling Scones.


1 ½ cups of self-raising flour

1 cup of wholemeal flour

¼ cup of oats

1 teaspoon of bi-carb soda

3 tablespoons of brown sugar

80g butter

¾ cup of milk

6 tablespoons of your favorite jam


Combine flours, oats, bi-carb soda and sugar in a bowl.

Rub butter into these dry ingredients.

Add milk and stir until just combined.

Pat dough together (adding a little more flour if too sticky) then cut into six pieces.

Roll each piece into small rectangle.

Spread 1 tablespoon of jam on each rectangle then fold over in thirds.

Place 6 scones on a tray and brush with milk.

Bake for fifteen to twenty minutes or until golden.

xx


Sunday, February 6, 2011

Coleslaw


Before you read this post I ask that you would please read the disclaimer.


Disclaimer: This coleslaw taste nothing like the white tubs of the same name that you may buy from the supermarket.
I know that those white tubs hit the spot sometimes and that KFC meals would not be the same without them. 
But please believe me when I say there is something wonderful about real homemade coleslaw.


The crisp texture,


 the vibrant colours,


…and the smooth creamy dressing that ties it all together.

I made some yesterday to celebrate my big brother’s first visit to our new place.
On such an occasion I would have usually made a fancy cake or some vanilla slice but as it was about 40˚C I decided it was too hot to turn the oven on.
So I went to the deli and bought some leg ham off-the-bone and served it with this coleslaw, fresh bread and cold beers,


...and it was perfect.

Coleslaw
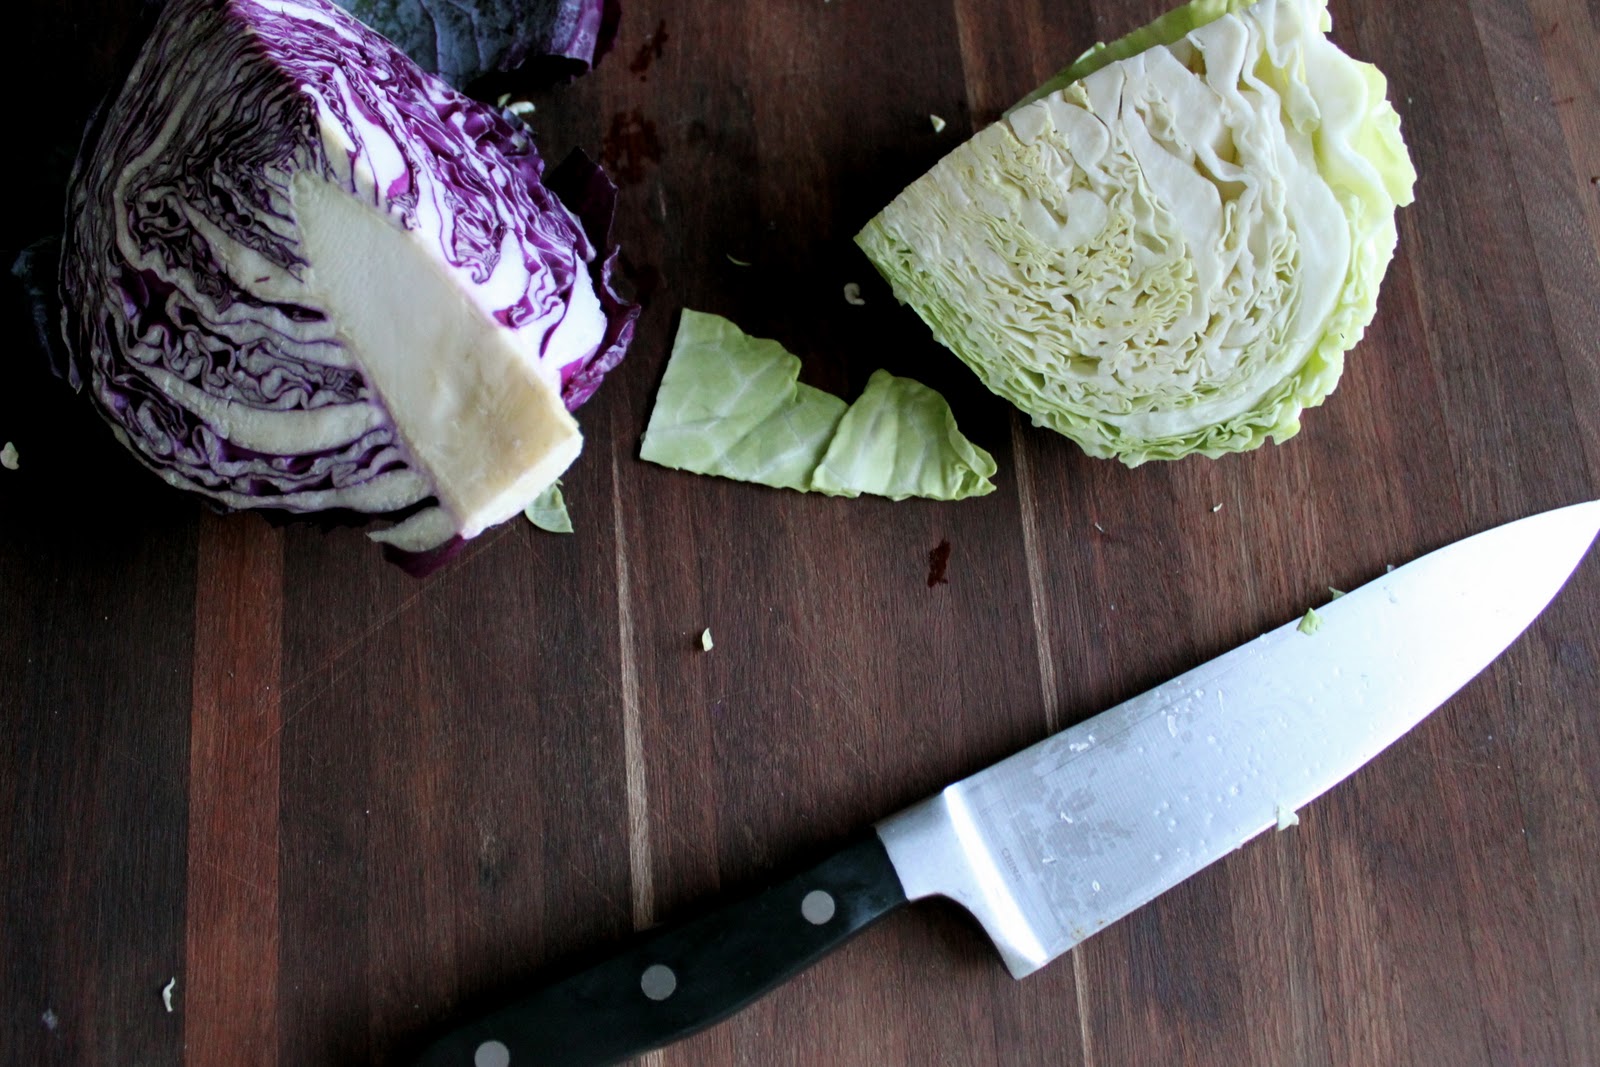
300g of savoy cabbage
200g of red cabbage
1 carrot
3 spring onions.
¾ cup of good quality whole-egg mayonnaise
¼ cup of lemon juice
I tablespoon of horseradish cream

Slice cabbage and carrot into thin strips.
Dice spring onions.
In a separate bowl combine mayonnaise, lemon juice and horseradish cream.
Taste and season as desired.
Then stir dressing into cabbage and carrot.
Top with spring onions and serve.
Makes a salad that could be enjoyed by four people.
Recipe can be doubled or halved.
xx